Best DIY Mini Split Kits (2026): Units Our Crews Install, Plus the Full Shopping List
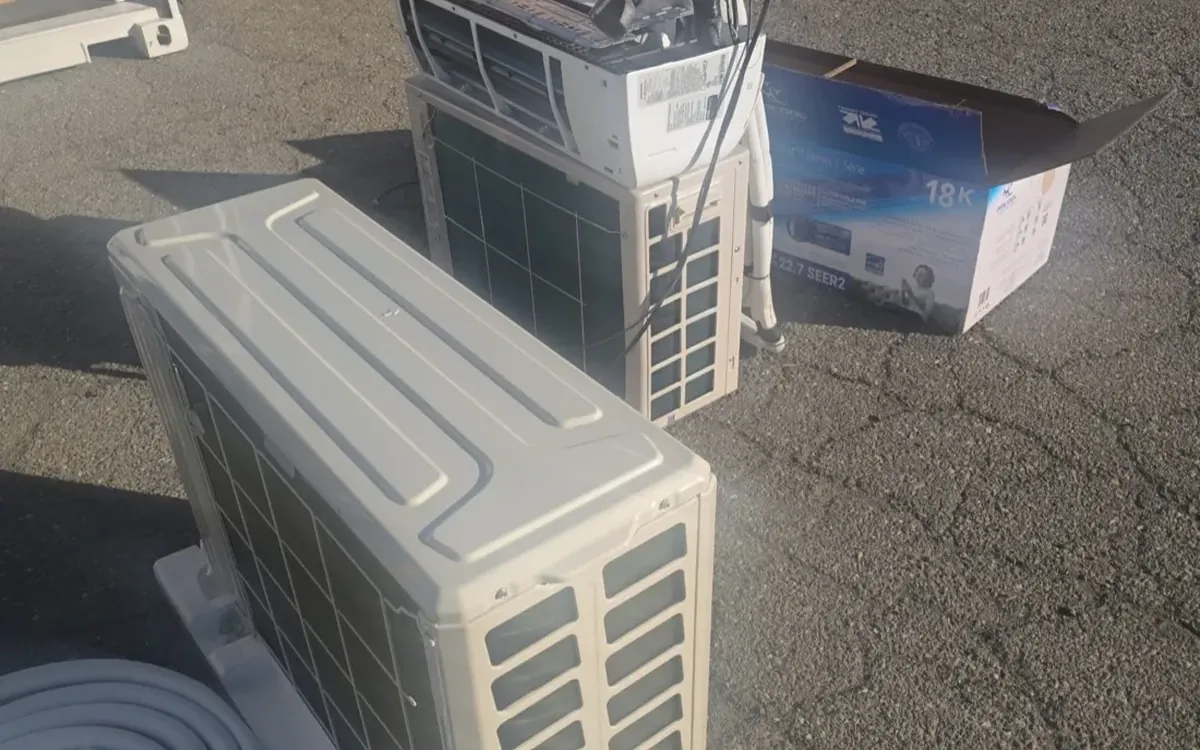
A DIY mini split kit is the single most expensive thing most of our customers buy on Amazon, and the one with the most add-on parts people forget. The unit is only part of the order: you also need a pad or bracket, a disconnect and whip, line set covers, and sometimes a condensate pump. This guide covers the kits we install across California, what to measure before you click buy, and what the install costs.
Mini splits are the biggest ticket our crews handle week to week, and the install is $1,495 in our price book for a standard single-zone unit. The difference between a smooth install and a second trip is almost always something that was not in the box: the wrong voltage for the panel, a line set that is too short for where the condenser has to sit, or no disconnect box. Below are the kits we see most, then the full list of what to put in the cart with them.
Quick Comparison
| Pick | Best For | Approx Price |
|---|---|---|
| Best Overall | MRCOOL DIY 5th Gen 18,000 BTU Single Zone Mini Split | Premium tier |
| Best Small Room | MRCOOL DIY 5th Gen 12,000 BTU 115V Mini Split | Mid tier |
| Best Multi-Zone | MRCOOL DIY Multi-Zone 2 to 4 Zone Kit | Premium tier |
| Best Value, Pro Charge | Pioneer Diamante 12,000 BTU 230V Mini Split | Value tier |
Our Picks
DIY Kit or Standard Kit: The One Decision That Matters
A DIY kit (MRCOOL DIY is the main one) ships with a line set that is already charged and sealed. You hand-tighten the quick-connect fittings, open the valves, and the system is charged. No vacuum pump, no gauges, no refrigerant handling. That is why a handyman crew can install it legally and why it costs more.
A standard kit (Pioneer, Della, Senville, most of Amazon) has an empty line set. After the heads and condenser are mounted, the lines have to be evacuated with a vacuum pump and the charge released from the condenser. That part needs an HVAC tech. If you buy a standard kit, budget for the tech, or buy the DIY kit and skip that step.
Sizing Without Guessing
Rough rule for California: about 20 BTU per square foot for a normal room, 25 to 30 for a garage, a west-facing room with big windows, or anything in the Inland Empire and Central Valley in August.
- Up to 400 sq ft: 9,000 BTU
- 400 to 600 sq ft: 12,000 BTU
- 600 to 900 sq ft: 18,000 BTU
- 900 to 1,200 sq ft: 24,000 BTU
- Two or more separate rooms: multi-zone, sized per room
Oversizing is the common mistake. A unit that is too big short-cycles, never dehumidifies properly, and wears out faster. When in doubt, size for the room, not the house.
Measure and Check Before You Buy
These are the things that send our crews back to the truck, in the order they happen:
- Voltage. 12k units come in 115V and 230V. Everything 18k and up is 230V. Open your panel: is there room for a 2-pole breaker, and is the panel rated for the extra load? If not, the 115V 12k is the unit that avoids an electrician.
- Line set length. Measure the path from where the indoor head will hang to where the condenser will sit, including the vertical drop and any bends. Kits ship with 25 ft standard; 16 ft, 35 ft and 50 ft line sets are sold separately. Too short is a dead stop on install day.
- Wall clearance for the head. The indoor head needs about 6 inches of clearance above it and must sit on an exterior wall or one with a clear path to the outside for the 3 inch hole.
- Where the condenser lives. Level ground for a pad, or a solid wall for a bracket. Keep 12 inches of clearance behind and 24 in front. Not under a bedroom window if you can avoid it.
- Condensate drain. The head drains by gravity through the same hole. If the head has to sit lower than the exit, you need a condensate pump.
- HOA and setbacks. Some HOAs restrict visible condensers. Ask before the box arrives.
The Full Shopping List
What our crews expect to find on site besides the unit itself. Most of it is in the Complete the Job section at the bottom of this page.
- Condenser pad (ground) or wall bracket (wall mount)
- Outdoor disconnect box, rated for the breaker size
- Electrical whip from disconnect to condenser
- Line set cover kit, long enough for the run, in a color that matches the stucco
- Line set extension, only if 25 ft is short
- Condensate pump, only if the head cannot drain by gravity
- Surge protector for the condenser (worth it in areas with summer outages)
Install Difficulty, From the Crew
Honest version: a single-zone DIY kit is a half-day for two people who have done it before, and a full weekend for a first-timer. The hard parts are not the refrigerant lines. They are drilling a clean 3 inch hole through stucco without cracking it, getting the head perfectly level so it drains, and the 230V electrical, which needs a permit in most California cities. Multi-zone adds a line set and a head per room and doubles the time.
Our install is $1,495 for a standard single-zone unit, and we handle the mounting, the hole, the line set, the drain, the disconnect and the startup. Panel work is done by a licensed electrician we coordinate. Multi-zone and roof or second-story condenser placements are quoted. See our MRCOOL mini split installation page, book online, or send a quote request with photos.
Need help with this in California?
Zomg The Handyman installs DIY mini split kits across all of California. Upfront prices, 4.9 rated. $1,495 for a standard single-zone install.
Get a Mini Split Install Quote →Frequently Asked Questions
Can a handyman legally install a mini split in California?
A pre-charged DIY kit, yes: no refrigerant is handled. A standard kit needs an HVAC tech to evacuate the lines. New 230V circuits need a licensed electrician and usually a permit.
What size mini split do I need for a garage?
About 25 to 30 BTU per square foot for a California garage. A two-car garage of 450 to 500 sq ft is a 12,000 to 18,000 BTU unit, and 18k is the safer choice inland.
Do I need a 230V circuit?
For 18,000 BTU and up, yes. Some 12,000 BTU units run on 115V, which avoids panel work in older homes.
How long does the install take?
A single-zone DIY unit is usually three to five hours for our two-person crew. Multi-zone is most of a day.
How much does mini split installation cost?
$1,495 in our price book for a standard single-zone unit, labor only. Multi-zone, roof placements and electrical are quoted.
Our service areas: MrCool Installation in Los Angeles · MrCool Installation in San Diego · MrCool Installation in Irvine
Complete the Job
Get it installed