Table of Contents
- Ceiling Fan Installation Costs at a Glance
- Fan Replacement Cost (Swap Existing Fan)
- Light-to-Fan Conversion Cost
- New Ceiling Fan Installation with Wiring
- Bathroom Exhaust Fan Installation
- Outdoor Ceiling Fan Installation
- Ceiling Fan Repair Costs
- How to Choose the Right Fan Size
- Factors That Affect Installation Cost
- DIY vs. Professional Installation
- Best Ceiling Fan Brands for California Homes
- Frequently Asked Questions
Ceiling fans are a California essential. With long, hot summers and rising energy costs, a well-chosen ceiling fan can reduce your air conditioning bills by 15-40% while keeping your home comfortable. But how much does ceiling fan installation actually cost?
Whether you need a simple ceiling fan replacement, a brand-new installation where no fan existed before, or a bathroom ceiling fan installation, this guide covers every scenario with real California pricing for 2026. As a handyman service that installs ceiling fans weekly, these prices reflect what you will actually pay — not inflated national estimates.
Ceiling Fan Installation Costs at a Glance
Here is a quick-reference pricing table for all types of ceiling fan installation near me in California. These are labor-only prices — you supply the fan or we can source it for you at cost:
| Installation Type | Price Range | Typical Duration |
|---|---|---|
| Fan Replacement (existing box & wiring) | $150 – $225 | 45 – 90 min |
| Light-to-Fan Conversion | $200 – $300 | 1.5 – 2.5 hrs |
| New Install with Wiring | $250 – $400+ | 2 – 4 hrs |
| Bathroom Exhaust Fan (replacement) | $175 – $275 | 1 – 2 hrs |
| Bathroom Exhaust Fan (new with duct) | $275 – $450 | 2 – 4 hrs |
| Outdoor Fan (covered patio) | $175 – $300 | 1 – 2 hrs |
| Outdoor Fan (new install) | $250 – $400+ | 2 – 4 hrs |
| Ceiling Fan Repair | $100 – $200 | 30 – 90 min |
| High Ceiling Surcharge (10ft+) | +$50 – $100 | — |
Fan Replacement Cost ($150 – $225)
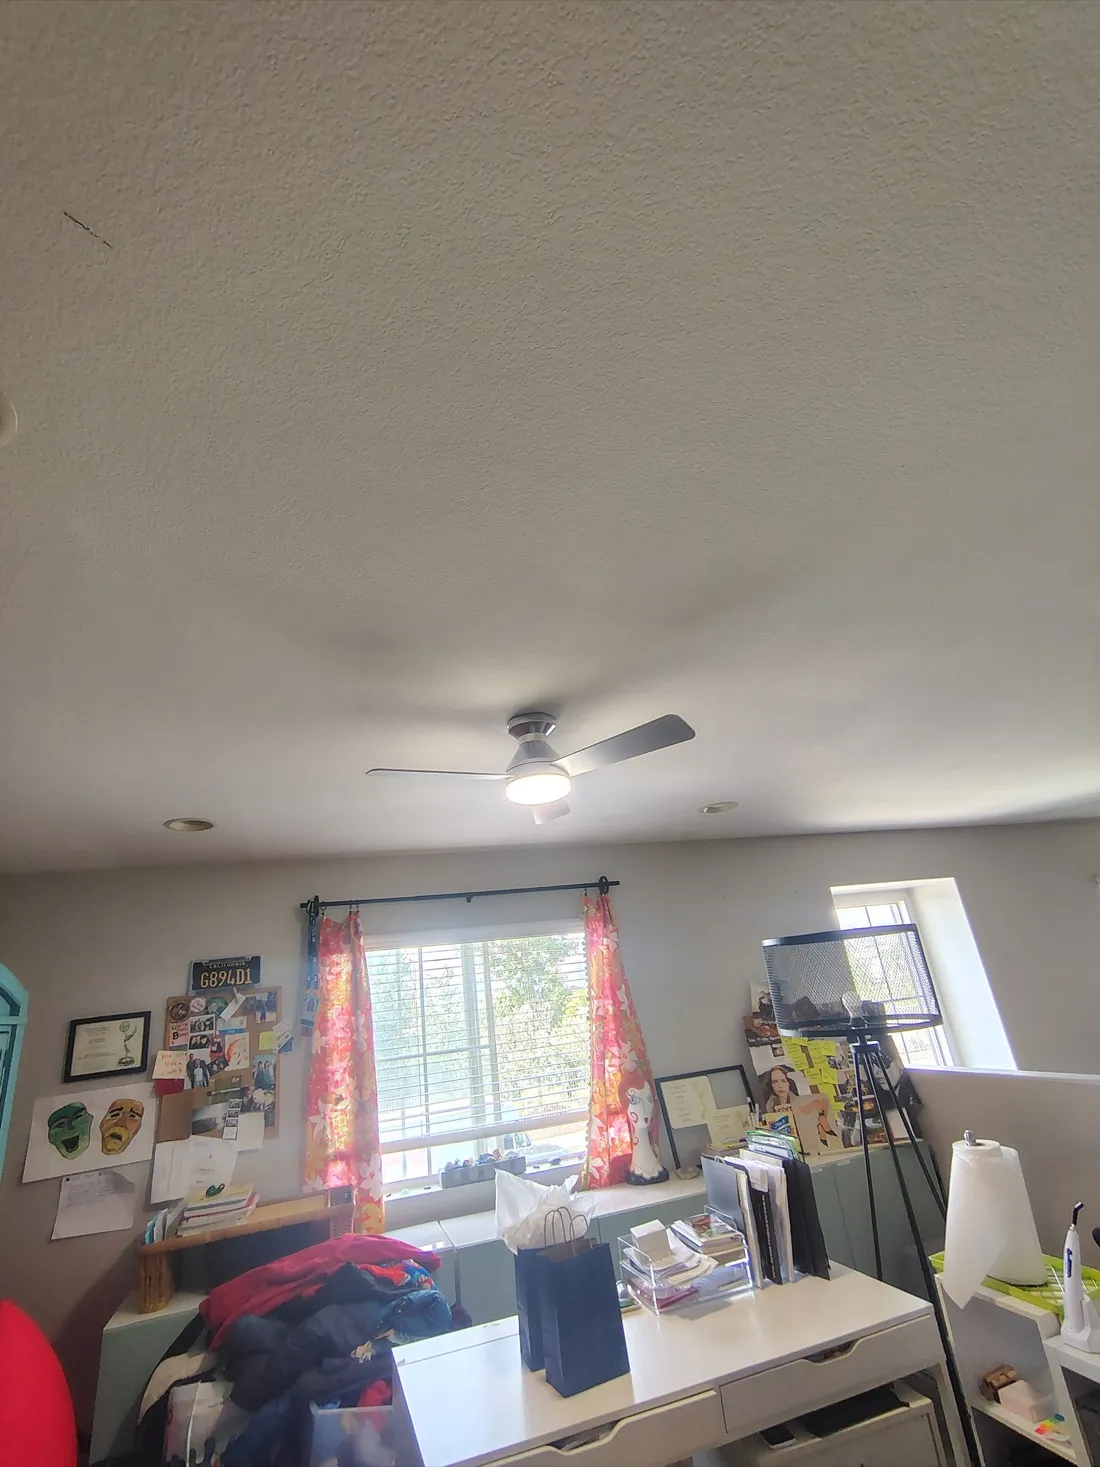
The most common and affordable ceiling fan install scenario is replacing an existing fan with a new one. If you already have a ceiling fan, the electrical box and wiring are already in place. The old fan gets disconnected and removed, and the new fan goes up on the existing mounting bracket (or an updated bracket if needed).
This is the simplest type of ceiling fan replacement near me job. The main variables affecting price are:
- Fan complexity: A basic three-blade fan takes less time than a heavy multi-blade fan with a light kit, remote receiver, and smart home integration.
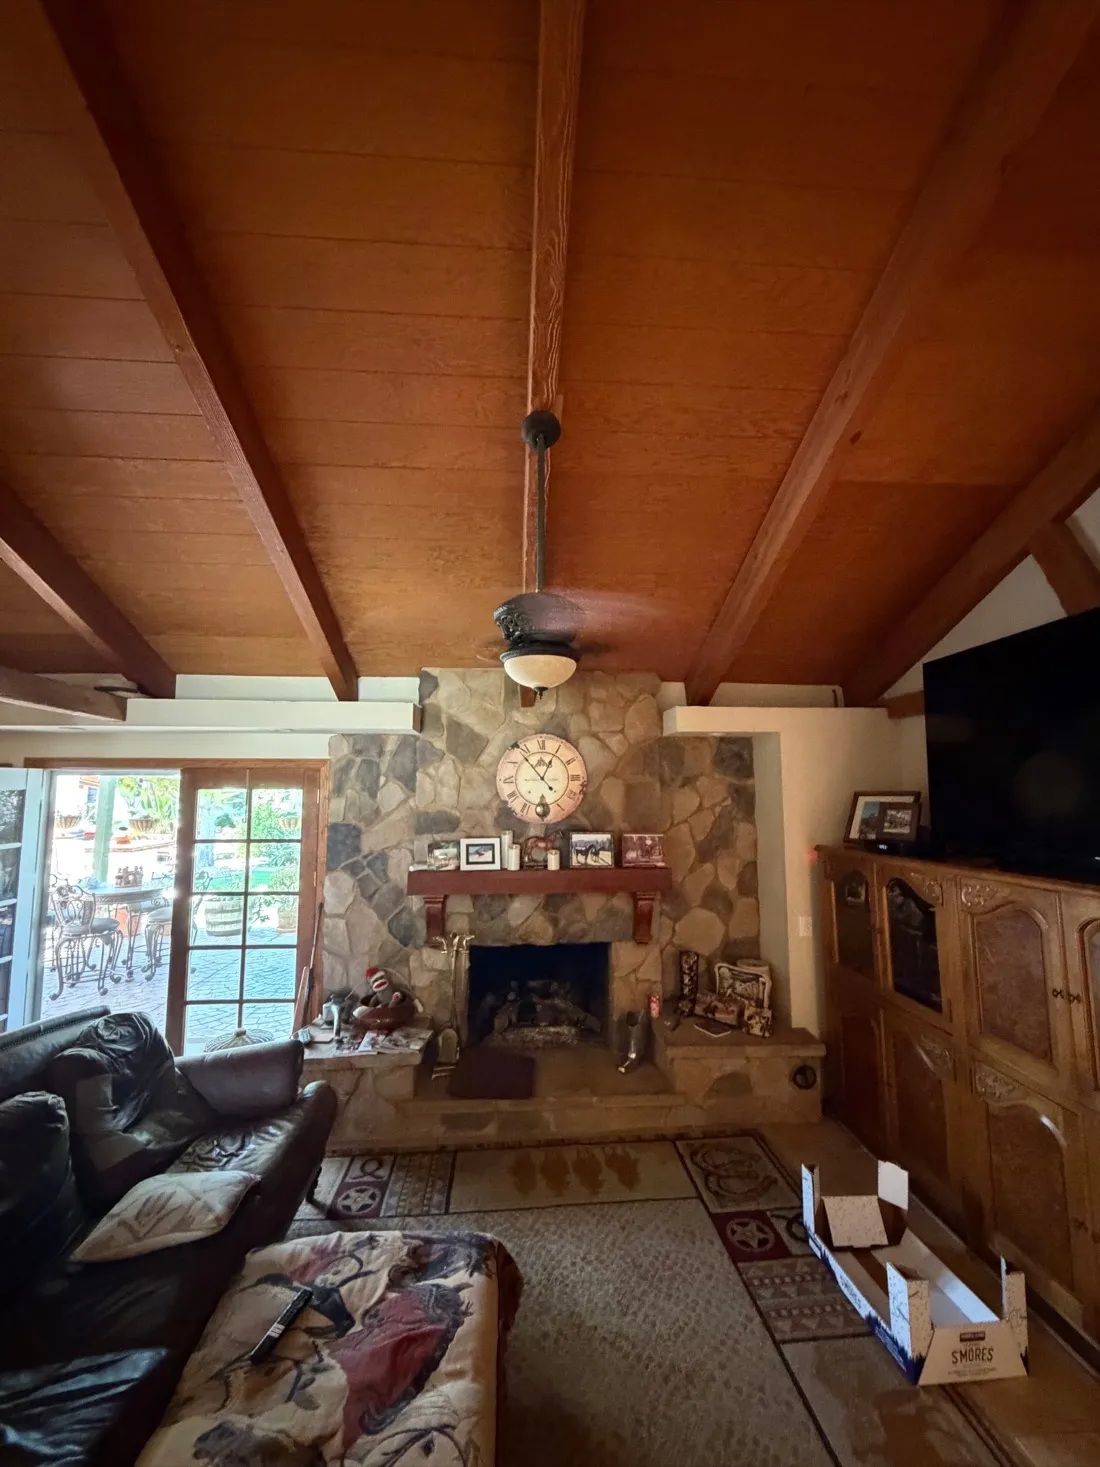
- Ceiling height: Standard 8-9 foot ceilings are straightforward. Vaulted ceilings or heights over 10 feet require a ladder and may add $50-100.
- Existing box condition: If the electrical box is old, loose, or not fan-rated, it needs replacement — adding $25-50 to the job.
- Old fan disposal: Most handyman services include removing and boxing up the old fan. Disposal may be an additional nominal charge.
Light-to-Fan Conversion Cost ($200 – $300)
Want to add a ceiling fan where you currently have a light fixture? This is a very popular upgrade in California, especially in bedrooms and living rooms that need better air circulation. However, it is not as simple as swapping the light for a fan.
The critical difference is the electrical junction box. Standard light fixture boxes are rated for 35-50 pounds of static weight. Ceiling fans weigh 25-50 pounds and generate dynamic forces from rotation and vibration that light boxes are not designed to handle. Installing a ceiling fan on a light fixture box is a code violation and a safety hazard — the fan can literally fall from the ceiling.
A proper light-to-fan conversion includes:
- Removing the existing light fixture
- Removing the standard electrical box
- Installing a fan-rated electrical box (brace-style boxes work between joists without attic access)
- Assembling and mounting the new ceiling fan
- Connecting wiring (the existing light switch controls the fan)
- Testing all speeds and light functions
If you want separate wall switches for the fan and light (instead of pull chains or a remote), that adds a switch leg wire and a new dual switch, which pushes the price to the higher end of the range.
New Ceiling Fan Installation with Wiring ($250 – $400+)
This is the most involved type of ceiling fan installation. You want a ceiling fan in a room that has no ceiling fixture at all — no junction box, no wiring. This requires running new electrical cable from a power source to the desired ceiling location, installing a fan-rated junction box, adding a wall switch, and then mounting the fan.
The cost varies significantly based on:
- Distance from power source: Running wire 10 feet from an existing circuit is much cheaper than running 30+ feet across an attic.
- Attic access: Having attic access above the room makes wiring dramatically easier and cheaper.
- Ceiling type: Running wire through a first-floor ceiling with a second floor above is significantly more difficult than a single-story home with attic access.
- Wall switch: Adding a wall switch requires running wire down the wall and cutting in an electrical box.
For complex new installations, especially in multi-story homes or buildings with limited access, we may recommend working with a licensed electrician for the wiring portion while we handle the fan assembly, mounting, and finishing.
Bathroom Exhaust Fan Installation ($175 – $450)
Bathroom ceiling fan installation refers to exhaust (ventilation) fans, not decorative ceiling fans. Bathroom exhaust fans are critical in California homes — they remove moisture that causes mold, mildew, and paint peeling. California building code requires exhaust fans in all bathrooms that lack an operable window.
Replacing an Existing Bathroom Fan ($175 – $275)
If you already have a bathroom exhaust fan and it is noisy, weak, or dead, replacing it is relatively straightforward. The ductwork and wiring are already in place. Most modern bathroom fans fit standard ceiling cutouts, though some older fans have unusual sizes that require minor drywall modification.
When choosing a replacement, pay attention to the sone rating (noise level) and CFM (airflow capacity). Modern fans in the 1.0-1.5 sone range are nearly silent compared to older models. Aim for at least 1 CFM per square foot of bathroom floor space.
New Bathroom Fan Installation ($275 – $450)
Installing a bathroom exhaust fan where none existed before requires cutting a ceiling hole, mounting the fan housing, running flexible or rigid duct to an exterior vent point, installing the exterior vent cap, running electrical wiring, and installing a wall switch. Venting through the roof is standard in California; venting into the attic is a code violation.
Popular upgrade options include fan-light combos ($10-30 more for the unit), fan-light-heater combos ($30-60 more), and humidity-sensing fans that automatically turn on when moisture is detected ($20-40 more).
Outdoor Ceiling Fan Installation ($175 – $400+)
Outdoor ceiling fan installation is especially popular in California where outdoor living spaces are used year-round. Covered patios, pergolas, gazebos, and outdoor kitchens all benefit from ceiling fan circulation.
The key consideration for outdoor fans is the moisture rating:
- Damp-rated: Suitable for covered patios and porches where the fan is protected from direct rain. These are the most common outdoor fan choice.
- Wet-rated: Suitable for uncovered areas where the fan may be exposed to rain. These have sealed motors and weather-resistant finishes.
Installing an outdoor fan on an existing covered patio with electrical already in place costs $175-$300. Adding a new circuit, running wiring to a pergola or detached structure, or installing where no electrical exists pushes costs to $300-$400+.
Ceiling Fan Repair Costs ($100 – $200)
Not every ceiling fan problem requires replacement. A skilled ceiling fan repairman can often diagnose and fix issues at a fraction of replacement cost:
| Repair Type | Cost | Common Cause |
|---|---|---|
| Wobble/vibration fix | $100 – $150 | Blade imbalance, loose hardware |
| Noise elimination | $100 – $175 | Worn bearings, loose components |
| Light kit repair/replacement | $100 – $150 | Failed socket, wiring issue |
| Pull chain replacement | $100 – $125 | Broken chain mechanism |
| Capacitor replacement | $100 – $150 | Fan runs on only some speeds |
| Remote receiver replacement | $100 – $150 | Remote stops working |
When to repair vs. replace: If your fan is under 10 years old and the motor still works, repair makes sense. If the motor is failing, the fan is over 15 years old, or repairs would cost more than 60% of a new fan plus installation, replacement is the better investment. Newer fans are significantly more energy-efficient, quieter, and often include LED light kits and smart home compatibility.
How to Choose the Right Ceiling Fan Size
Choosing the wrong fan size is the most common mistake homeowners make. An undersized fan will not circulate enough air, while an oversized fan looks awkward and can create an uncomfortable wind effect. Here is the size guide we recommend:
Ceiling height matters too. For ceilings under 8 feet, use a flush-mount (hugger) fan. For 8-9 foot ceilings, a standard downrod of 3-5 inches works well. For 10-12 foot ceilings, use a 12-24 inch downrod. For ceilings above 12 feet, longer downrods are available. The ideal fan blade height is 8-9 feet above the floor.
Factors That Affect Ceiling Fan Installation Cost
- Ceiling height: Every installation over 10 feet adds $50-100 for ladder/scaffolding work and additional time.
- Ceiling type: Flat ceilings are standard. Sloped, vaulted, and cathedral ceilings require angled mounting adapters and more careful installation, adding $25-75.
- Existing wiring: Having existing wiring and a junction box in place is the single biggest cost saver.
- Fan weight and complexity: A heavy 52" fan with a light kit and remote takes longer to assemble and mount than a simple 36" fan.
- Number of fans: Installing multiple fans in one visit reduces the per-fan cost. We typically discount 10-15% on the second and third fans.
- Old fan removal: Removing an existing fan is generally included, but removing old paint rings or patching from a differently-sized fan adds time.
DIY vs. Professional Ceiling Fan Installation
| Consideration | DIY | Handyman Ceiling Fan Install |
|---|---|---|
| Cost (labor only) | $0 (your time) | $150 – $300 |
| Time investment | 2 – 5 hours (first-timer) | 45 min – 2 hours |
| Tools needed | Ladder, drill, wire strippers, voltage tester | None — all provided |
| Safety risk | Electrical shock, fall risk, fan falling later | Professional safety practices |
| Best for | Simple swap with existing fan-rated box | Any installation type |
Ceiling fan installation involves electrical work at height — two risk factors that compound each other. If you are comfortable working on a ladder and confident in basic electrical connections (turning off the breaker, connecting color-coded wires), a simple fan swap is manageable. For anything involving junction box replacement, new wiring, or high ceilings, a handyman ceiling fan install is the safe and efficient choice.
Best Ceiling Fan Brands for California Homes
After installing thousands of ceiling fans, here are the brands we see lasting the longest and performing the best:
- Hunter: Excellent reliability and wide range of styles. The Hunter Original is a classic that lasts decades. Great value across all price points ($100-$500).
- Minka-Aire: Modern designs with solid performance. Popular for contemporary California homes. Mid-to-high price range ($200-$600).
- Big Ass Fans (Haiku): Premium, ultra-quiet fans with smart home integration. Expensive ($400-$1,200) but exceptional quality and energy efficiency.
- Fanimation: Great selection of unique and modern designs. Good motors with solid build quality ($200-$700).
- Monte Carlo: Good mid-range option with reliable performance and clean designs ($150-$400).
- Harbor Breeze / Hampton Bay: Budget options available at Home Depot and Lowe's ($50-$200). Adequate for bedrooms and low-use areas. Not recommended for heavy daily use or outdoor applications.
For outdoor California patios, we specifically recommend Hunter's wet-rated outdoor models or Minka-Aire's outdoor collection — both handle the California climate well and resist corrosion from coastal salt air.
Need a Ceiling Fan Installed?
Zomg The Handyman provides professional ceiling fan installation throughout California. Same-week appointments, flat-rate pricing, and cleanup included.
Book Fan InstallationFrequently Asked Questions About Ceiling Fan Installation
How much does it cost to install a ceiling fan in California?
Ceiling fan installation in California costs $150-$300+ depending on the type. A simple replacement (swapping an old fan for a new one using existing wiring) starts at $150. A new installation with wiring runs $250-$400+. Commercial ceiling fan installation pricing is similar with volume discounts available.
Can I replace a light fixture with a ceiling fan?
Yes, but it requires installing a fan-rated electrical box that can support the weight and vibration of a ceiling fan. Standard light fixture boxes are not strong enough. This light-to-fan conversion typically costs $200-$300 including the new fan-rated box, mounting bracket, and fan installation.
How long does ceiling fan installation take?
A straightforward fan replacement takes 45-90 minutes. A light-to-fan conversion takes 1.5-2.5 hours. A completely new installation with wiring typically takes 2-4 hours depending on ceiling access and distance to the electrical source.
Should I install a ceiling fan myself or hire a professional?
If you are replacing a fan using an existing fan-rated box and existing wiring, a confident DIYer can handle it. For any work involving a new electrical box, new wiring, or high ceilings, hire a professional. Improperly installed ceiling fans can fall, causing injury or property damage.
What size ceiling fan do I need?
Room size determines fan size: up to 75 sq ft needs a 29-36 inch fan, 76-144 sq ft needs 36-42 inches, 144-225 sq ft needs 44-50 inches, 225-400 sq ft needs 50-54 inches, and over 400 sq ft needs 56-72 inches or multiple fans.
How much does outdoor ceiling fan installation cost?
Outdoor ceiling fan installation in California starts at $175 for a covered patio replacement and $250+ for a new installation. Outdoor fans must be damp-rated (covered areas) or wet-rated (exposed areas), which cost more than indoor models.
Can a handyman install a ceiling fan?
Yes, a skilled handyman can install ceiling fans, especially replacement installations using existing wiring. For new wiring runs or complex electrical work, an electrician may be needed. A handyman ceiling fan install is typically less expensive than hiring an electrician for the same work.
How much does bathroom exhaust fan installation cost?
Bathroom ceiling fan (exhaust fan) installation costs $175-$350 in California. Replacing an existing exhaust fan is on the lower end. New installations requiring ductwork to vent outside cost more. Combination fan-light-heater units typically add $50-100 to the installation cost.
Cool Down Your Home for Less
Professional ceiling fan installation pays for itself in energy savings. Book with Zomg The Handyman today.
Schedule InstallationView all handyman services →